3 Plait Hat Band:This is a tutorial for a very simple hat band. It is quick to make ( 20- 30 min at the most), and easy to put together. It will certainly add character to your hat. I am making this band up for my new Tarp Hat but I will have it so I can take it off and change it or use it for another hat should I wish.
Things you will need :1. Cord. Any cord will do but paracord is great as you will be able to take the band apart and use it if you have to.
2. Thread for whipping. A strong Nylon/ Upholstery thread is ideal
3. Scissors/ knife to cut the thread
4. Lighter to melt the ends.
5.
( Optional) A small clamp/ bulldog clip to hold the end while plaiting , it can be done without the clamp but it makes things a lot easier if you have one.
6.
( Optional) A few beads and or toggles for the stopper and decoration
Method:

1. Take your cord and wrap it once around the crown of the hat. Give yourself a good 3-4 inches spare to create the tails. You can always shorten these later.
2. Cut the cord at the length you decided on and very carefully seal the ends with the lighter.

3.You now need another piece of cord that is twice the length of the one you have just cut. Again seal both ends as this stops the cord from fraying.

4. Take the longer length of cord and fold it in half. Keeping hold of the loop end , take one end of the shorter length and put it in between the two strands of the longer length.
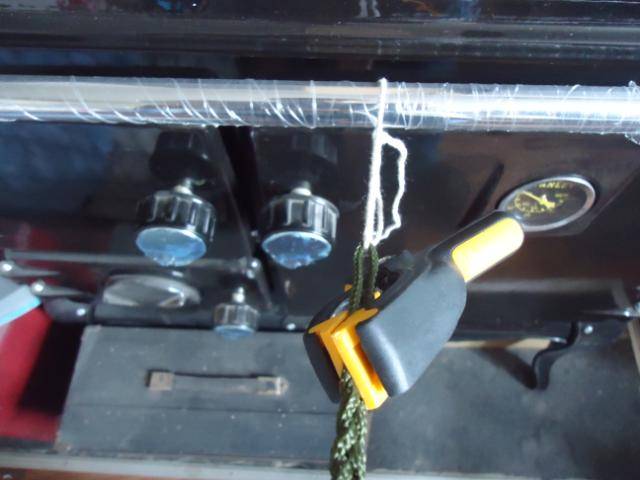
5.Clamp or tie these 3 strands together to allow you to plait them. Get another piece of string/cord and put it through the loop and tie of to a sturdy object.
6. To start plaiting take the right hand cord and cross it over the middle one. Next take the left cord and cross it over the new middle strand. Keep crossing the cords in this fashion ( right over middle, left over middle etc) until you get to around 2-3 inches from the end.

7. Tie a simple over hand knot to keep the cords from un-plaiting.

8. Next we have to whip the loop end. Cut a length of thread ( I give myself 2 arm-spans worth). Take the tread and make a loop. The length of the loop will determine the length of the whipped area. Give yourself extra at the loop end to allow for the pull through later on.

9.Take the loop and lay it flat against the plait

10. Starting at the end furthest from the loop, wrap the thread around the cord. keep wrapping towards the loop until it is small enough to fit over the plait with a bit of friction.

11. When you get near the end you finish of by putting the end nearest the loop through the loop and pulling it through with the thread at the opposite end.


12. Cut both ends so they are tidy
13. Undo the over hand knot and thread the free end of the plait through the loop.

14. You can now either re tie the over hand knot and have that as your stopper or if you have one use your bead/beads as the stopper. If you use the bead it should slide over the plait and have plenty of friction. I tie a knot at the back of the bead as an extra stopper.

15. Either cut the tails shorter or leave them as they are. Here I have put a small wooden bead on the end of each for a bit more decoration.
If you want the band to stay on permanently you can sew it on with a few stitches at the front and sides.

So there we have it. Using different colored cord and/or stringing on more beads to the plait will give you a wide range of smart looking hat bands
Enjoy.


